

Today I am going to help you setup a ipfire network IPS and firewall.
Having a network hardware IPS and firewall is good because it can stop attacks centrally at the gate to your LAN. The ipfire machine is your gate.
A network IPS and firewall is essential because your Windows firewall is not as honest as it seems. Numerous sorts of traffic bypasses it without any firewall rules, like base-telemetry, windows update, remote management, push to install, RPC, delivery optimization, pc-sync, and network time service. Where you have unchecked inputs like these, it is very difficult to lock down security. You sometimes do not know whether it is tcp or udp, you do not know the ports and you don’t know what ip addresses are involved because MS does not disclose them. Therefore, a network IPS and firewall that stops traffic at the gate is needed. It can stop network exploits BEFORE it touches your pc's.
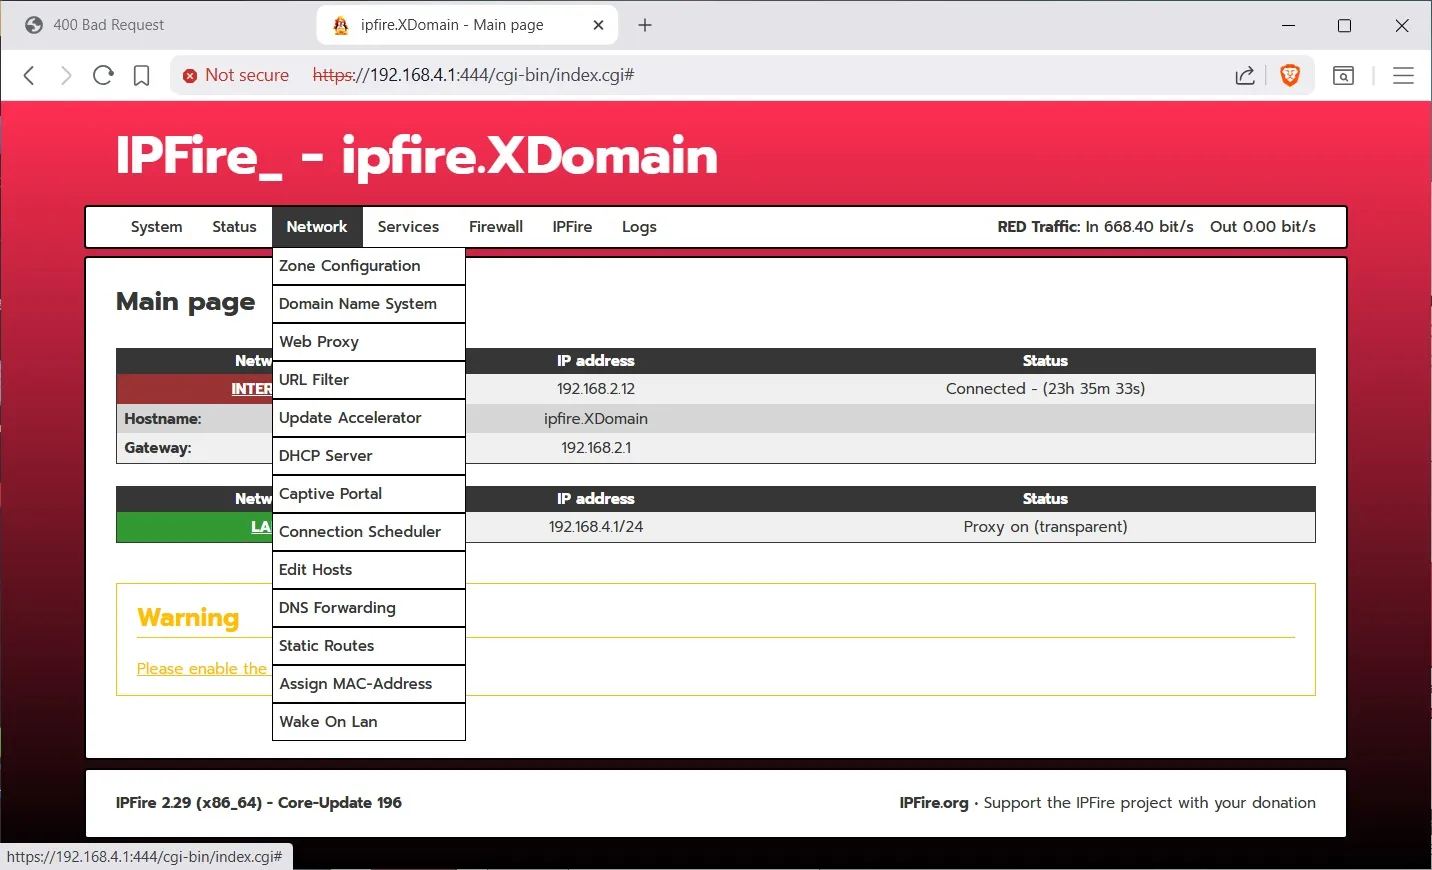
Ipfire is very simple to configure. If you have explored your router settings you will find similar sections.
And if you have children, you can set time limits and block unwanted material.
What you need is a old pc, and add a $15 2nd network card and a $12 dumb switch. Then install ipfire on it and it will act as a hardware IPS and firewall. Beats buying a hardware appliance at $2XX.
You download the iso and use Rufus to write it to a USB stick, or if your old pc is too old to boot from USB, then you right click and Burn to DVD disc. Machines as old as Core-2-Duo’s with 4GB RAM will suffice as a firewall doesn’t use much cpu power. The suricata IPS just needs RAM ( and 4 gb is plenty, minimum just 1 gb ).
When it boots up, it will ask you to select which network card you want to use for your WAN (red) and LAN (green). Don’t worry if you get it wrong, you can always switch the Ethernet wires. Then it asks for two passwords; one for root which you won’t use much, and the admin; which you use to login to the web panel. And then you decide what ip address to give it.
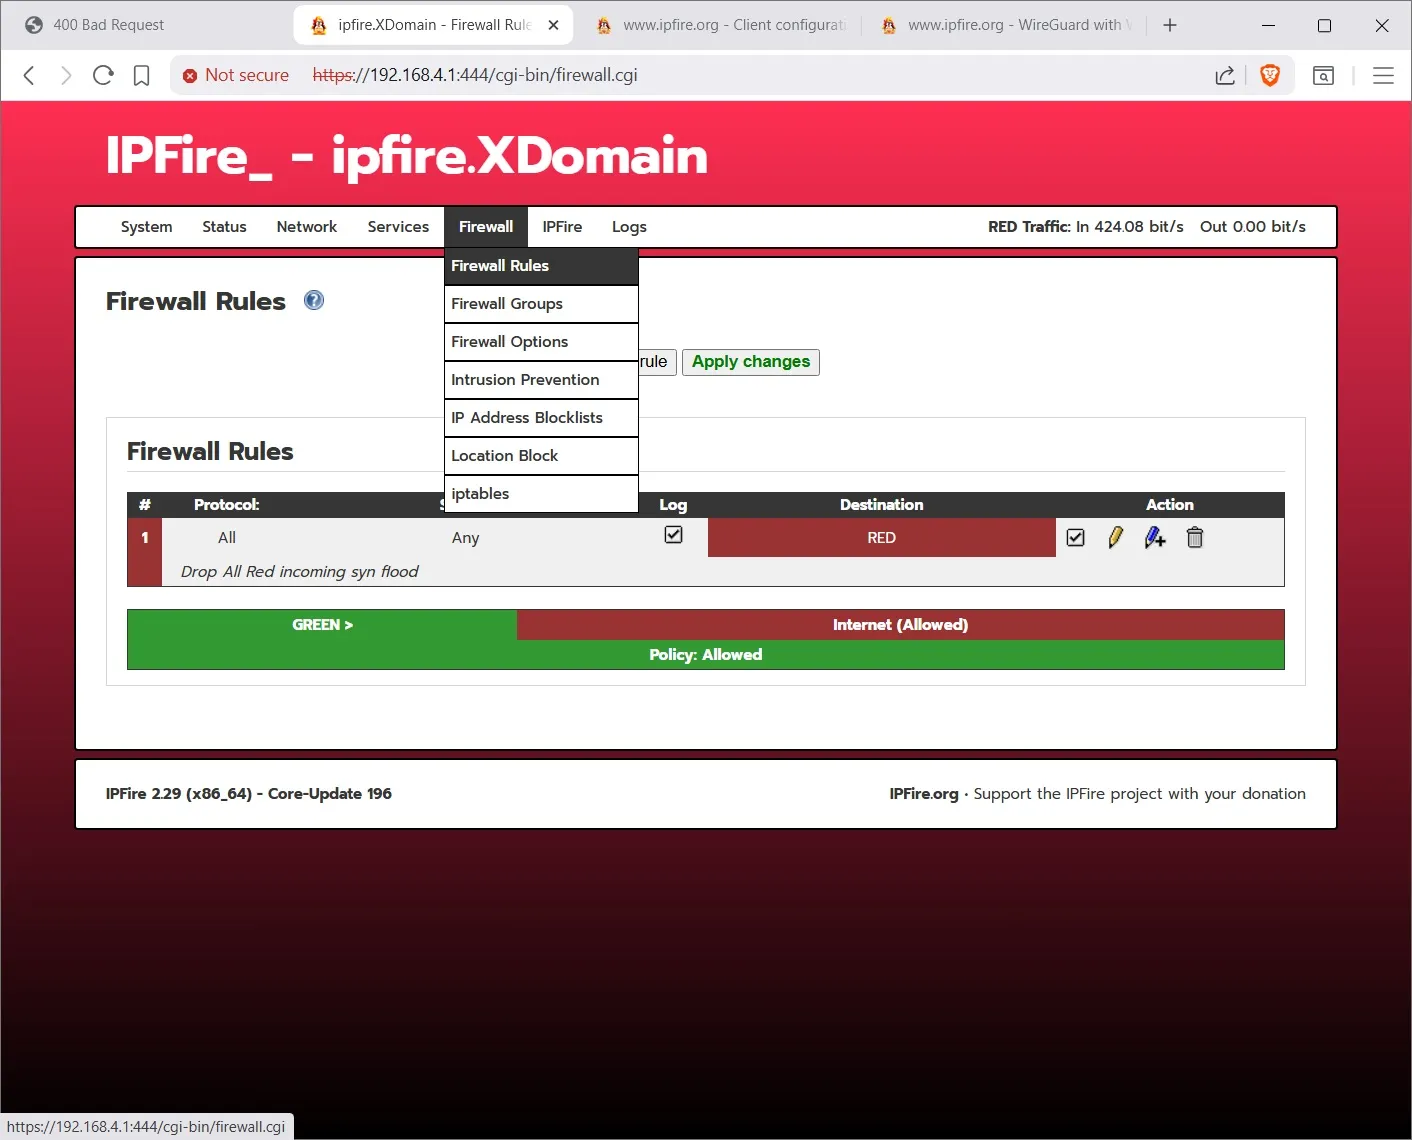
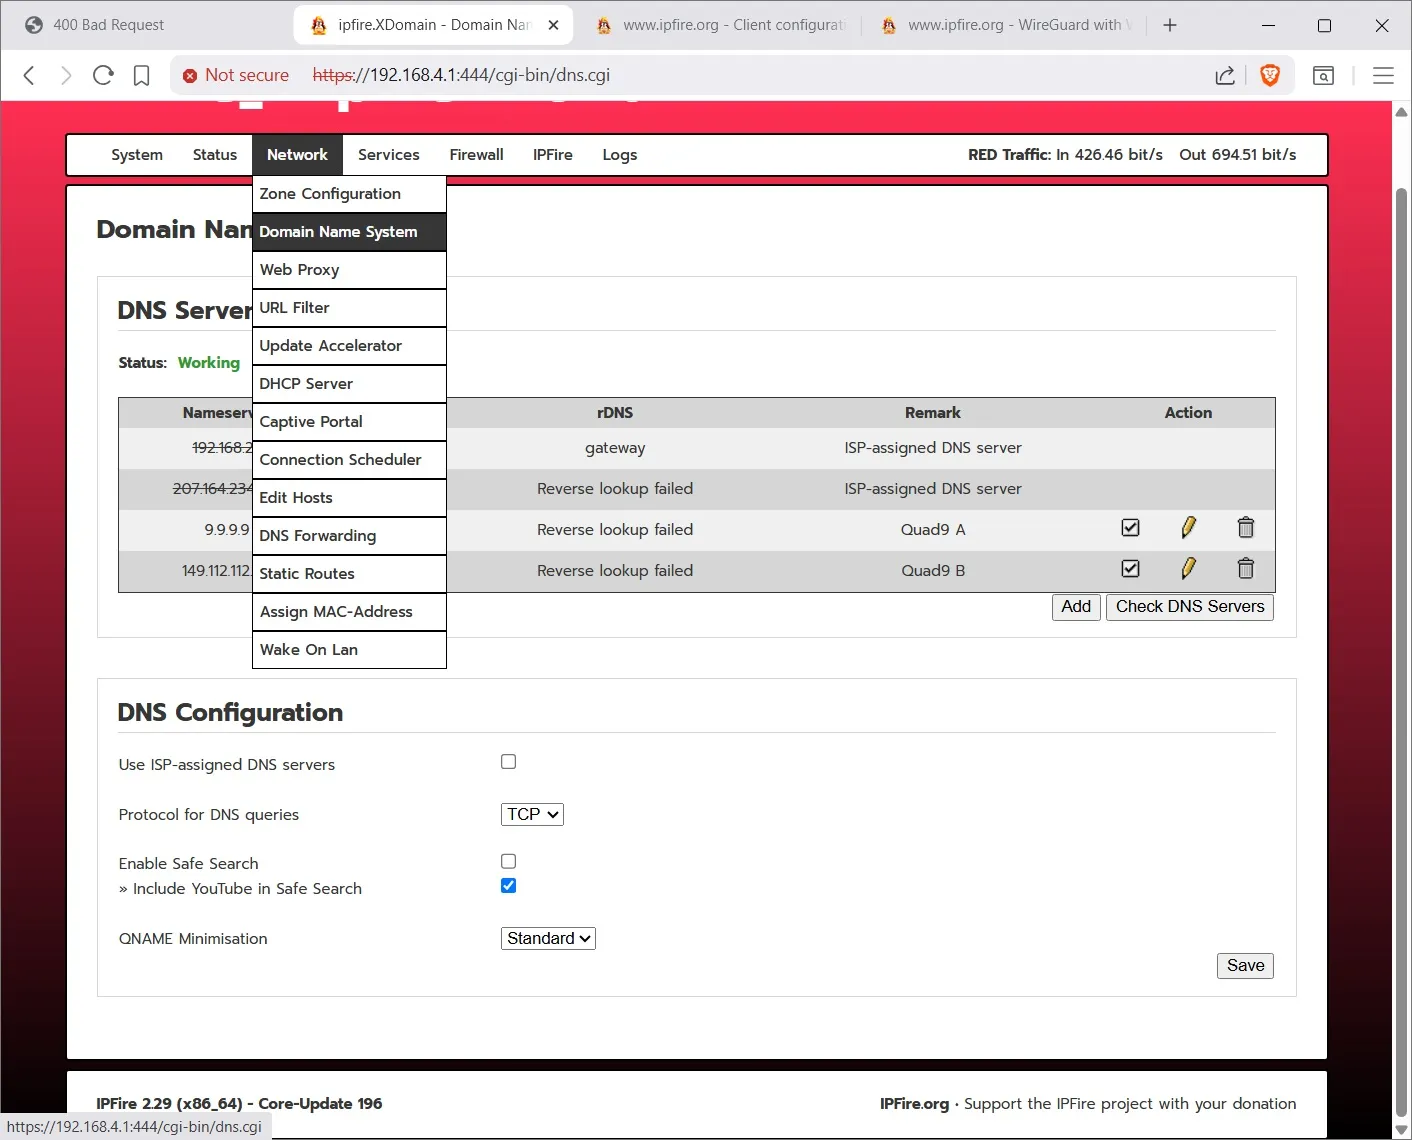
Then you surf over to xxx.xxx.xxx.xxx:444 . Note the :444, because ipfire does not use https 443.
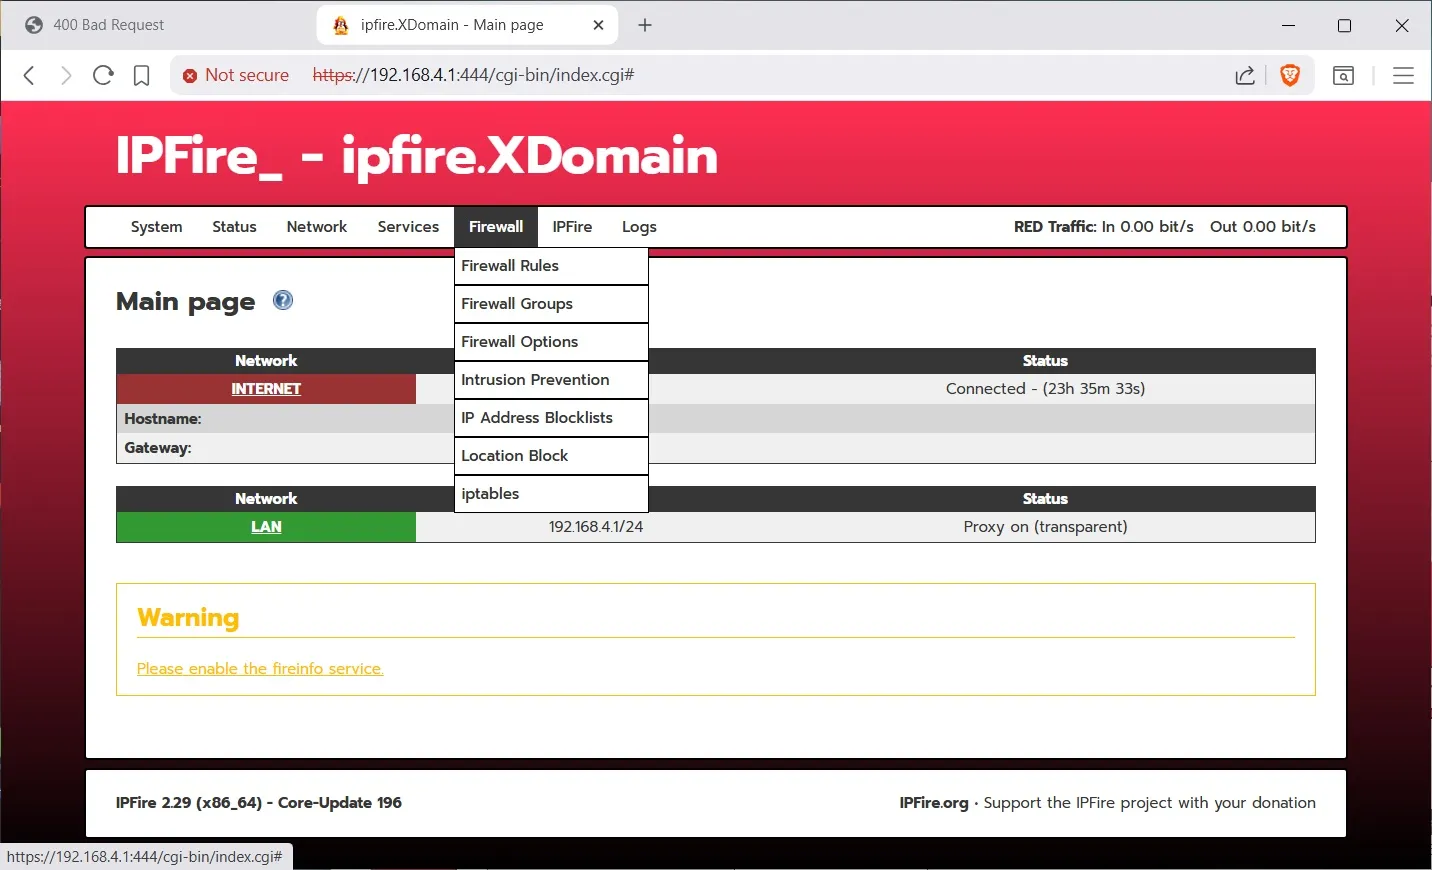
Lets talk about the Intrusion Prevention System.
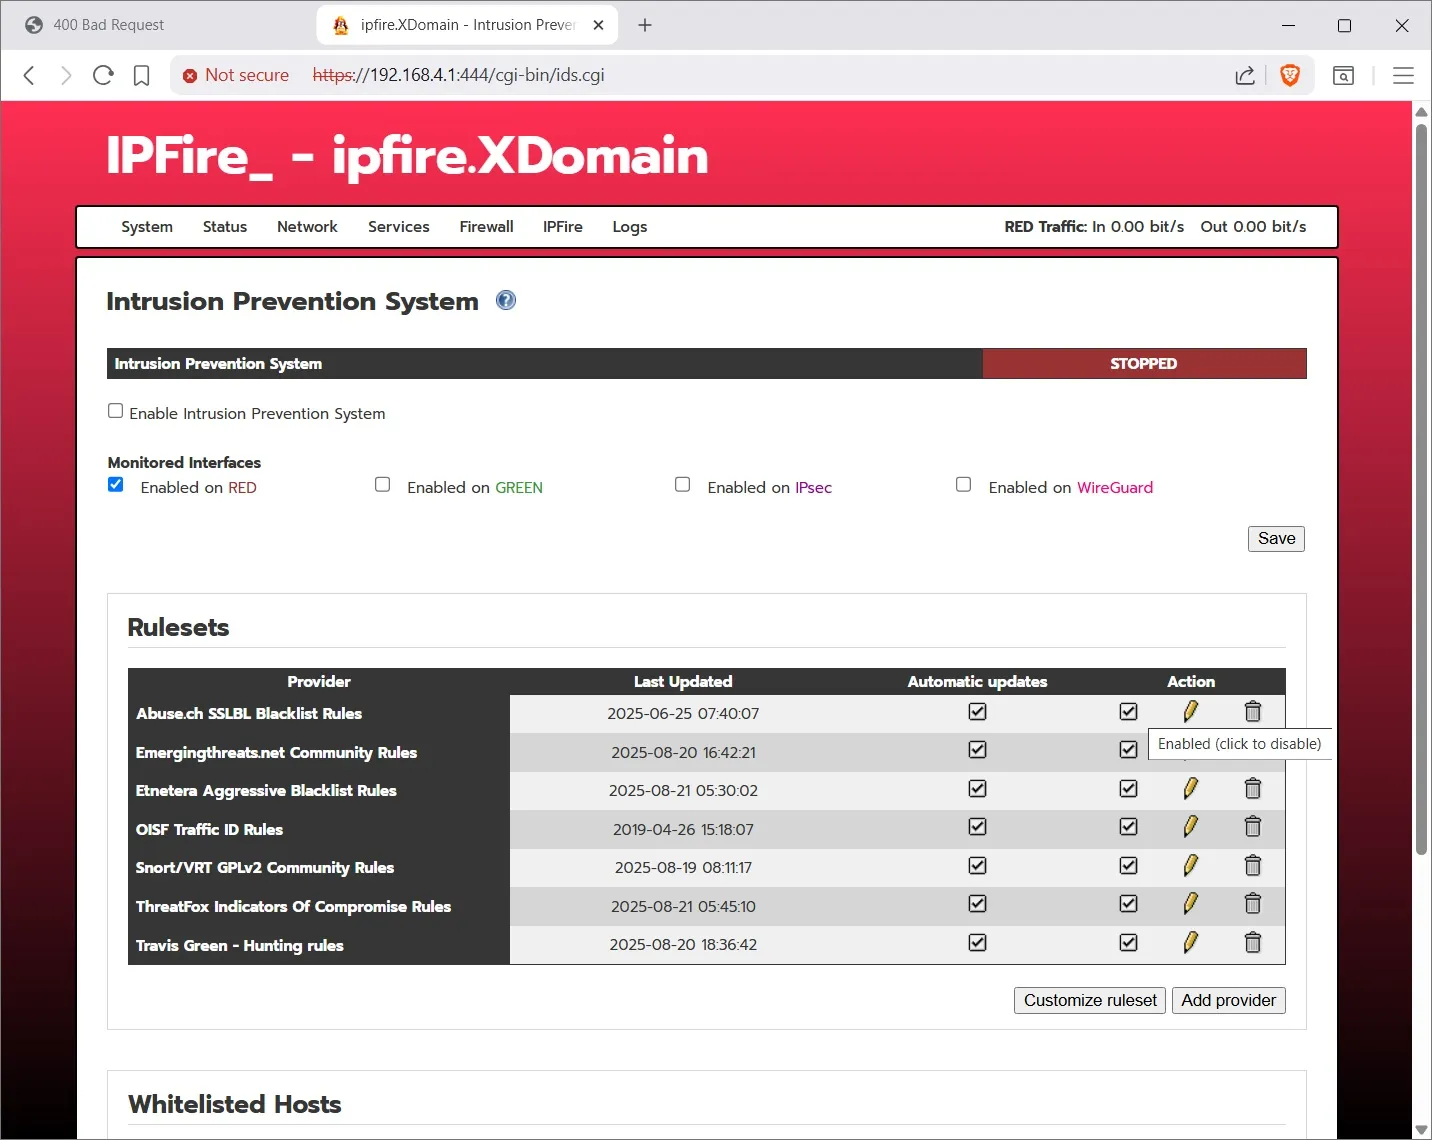
First click on the Add Provider button and add each of the free rules providers. The ones that say Pro Rules and Registered Users are not free.
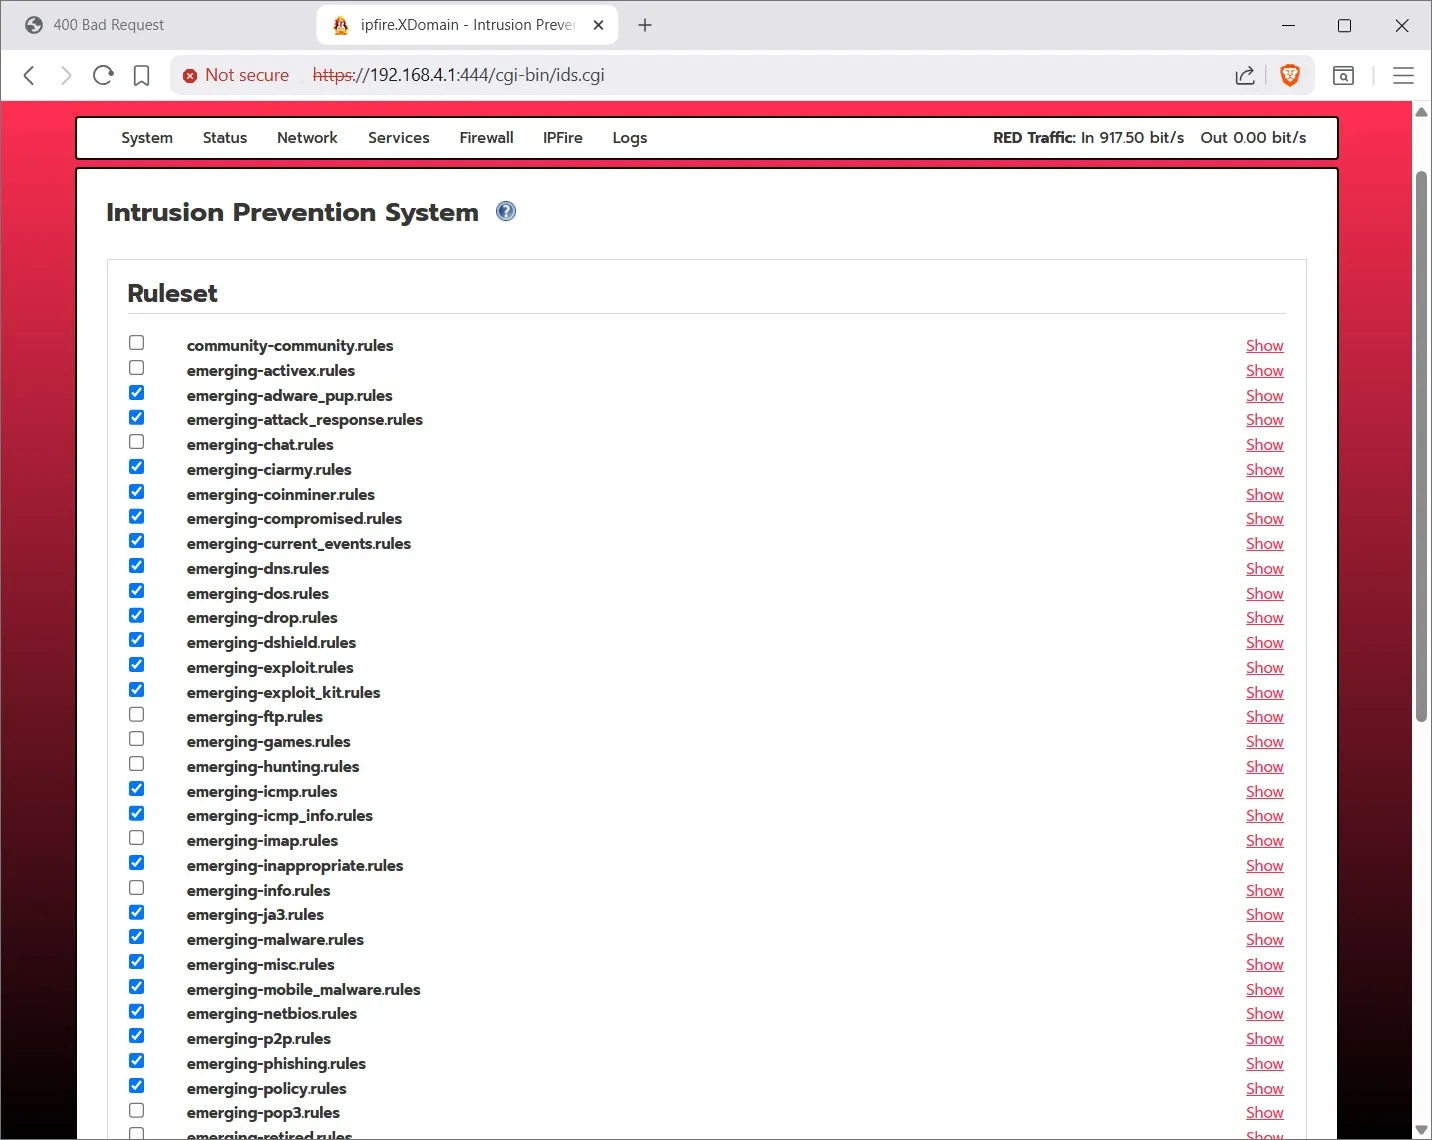
Now click on Customize Ruleset button and pick the rules that matter to you. For example you won’t be needing ‘emerging activex rules’ since we no longer use Internet Explorer. (IE).
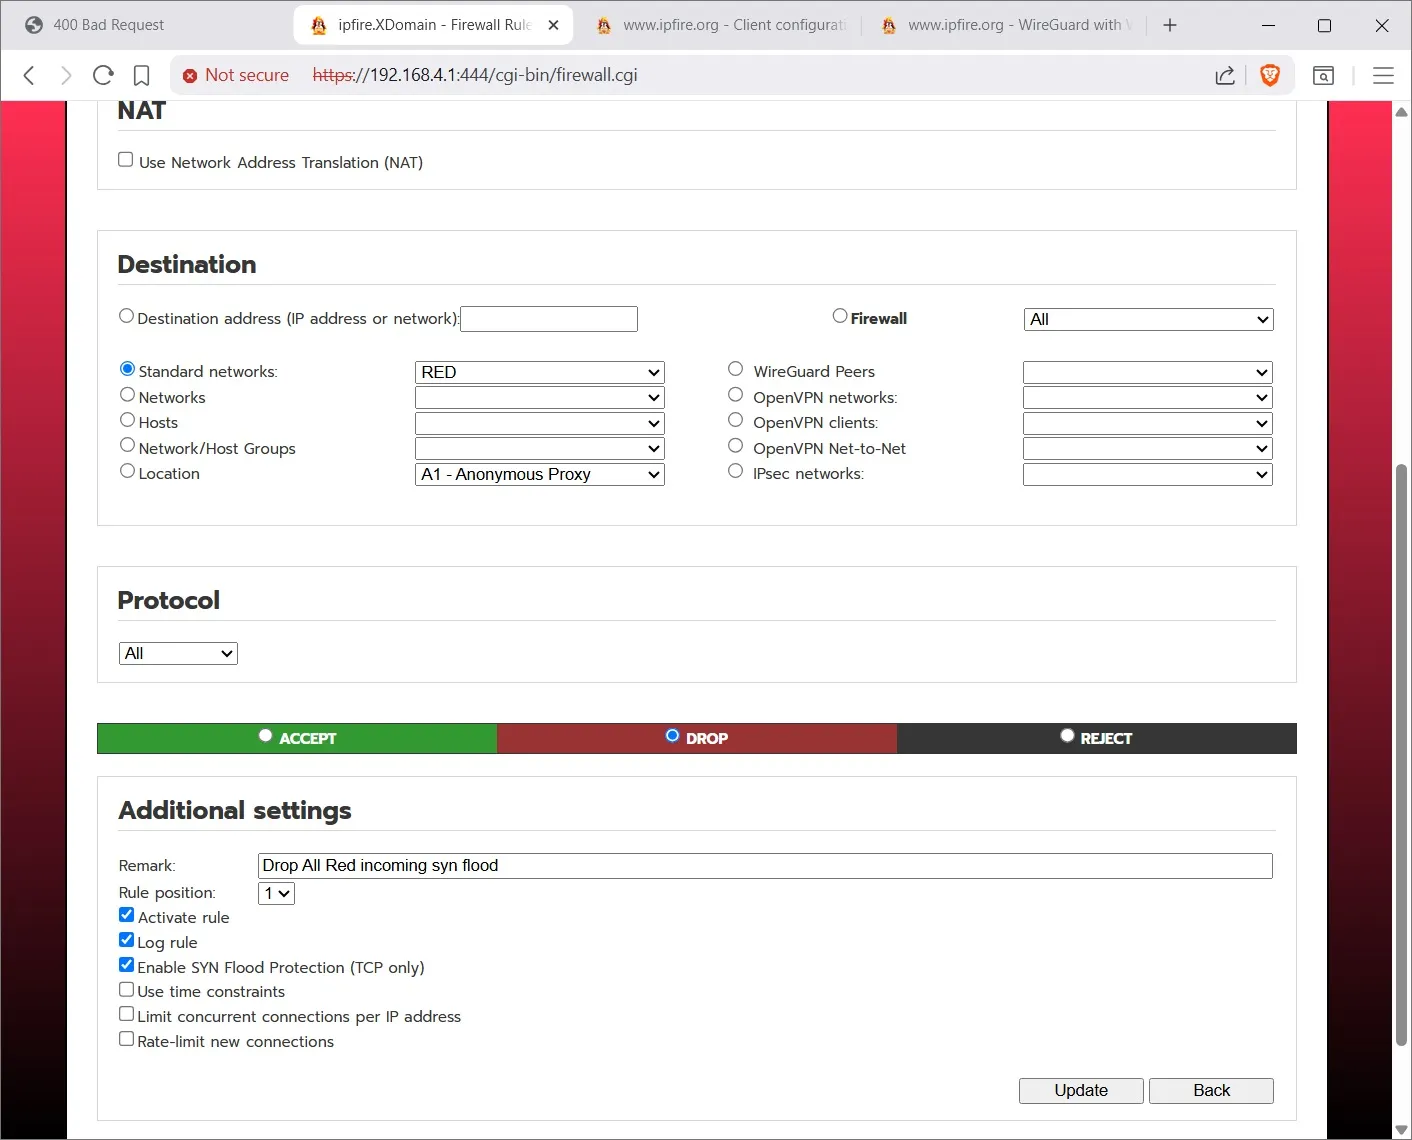
Next, next click on Firewall Rules